


Tutorial Details
Program - Photoshop CS5
Assets - The following assets were used during the production of this tutorial:
Now we have everything we need so let’s start!
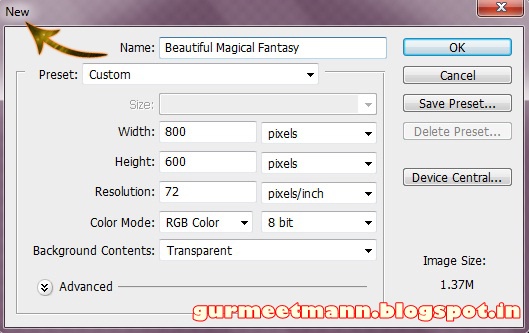
Step 1:-Open your Photoshop and create a new file with 800px width and 600px height.
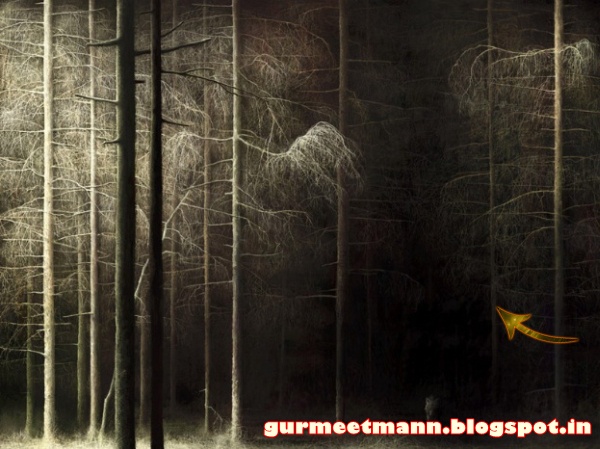
Step 2:- Now open the forest image and paste it on our main file.
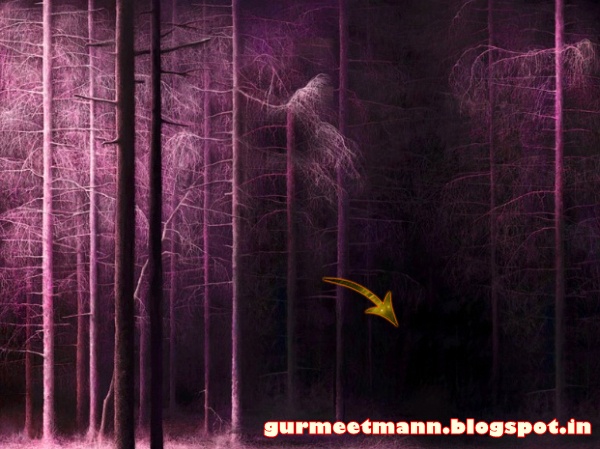
Step 3:- Now click on Image> Adjustment> Hue/saturation.

Step 4:- Now let’s cover up the little wolf on the right. Create a new layer and select soft round brush. Use it on the wolf with # 0d090c.
Step 5:- Open the moon image now.
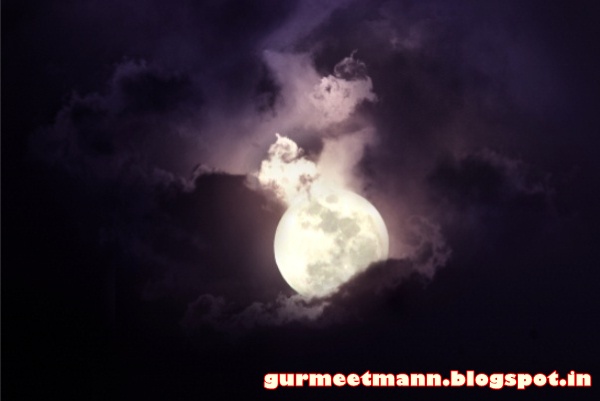
Step 6:- Select the Eraser tool and erase everything except the moon and few clouds. Then place it on our file.
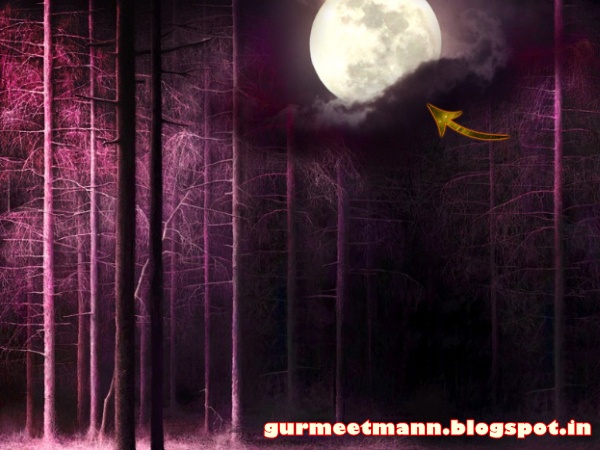
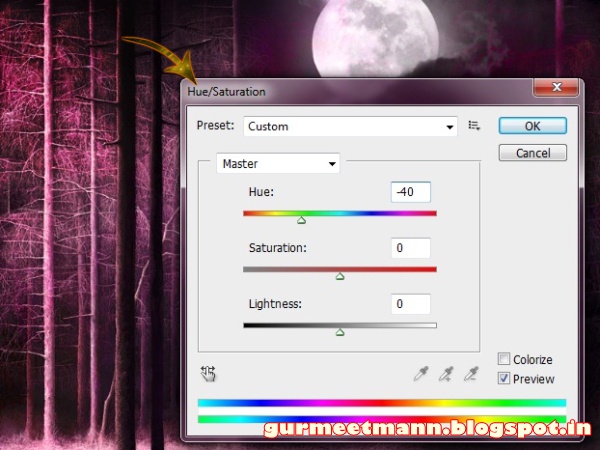
Step 7:- Now click on Image> Adjustment> Hue/Saturation. And change the color a bit.
Step 8:- Now open the girl image and select it with pen tool. After that paste it on out main file. Reduce the size.
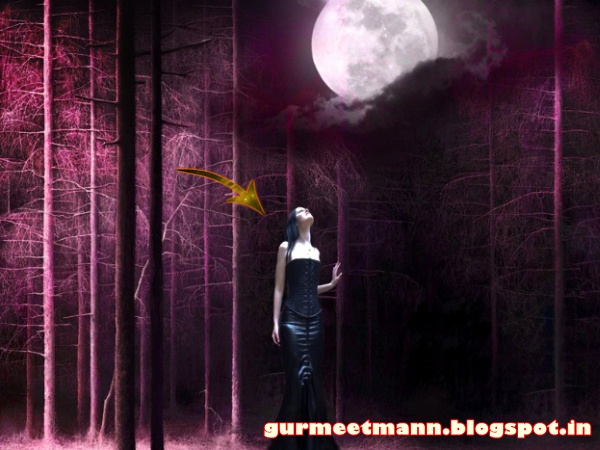
Step 9:- Now paste the girl image one more time and this time don’t reduce the size.
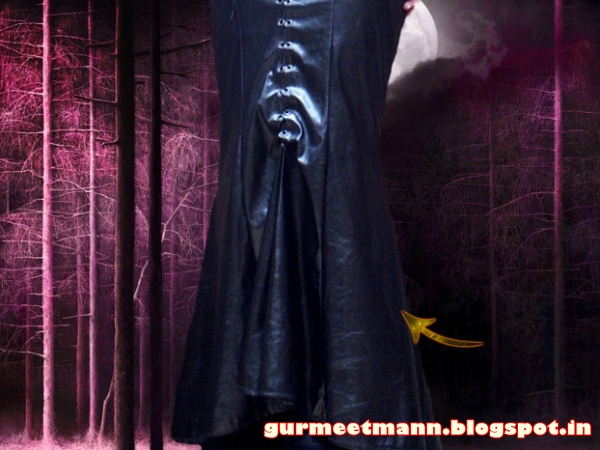
Step 10:- Select the pen tool and select a bit of the skirt.
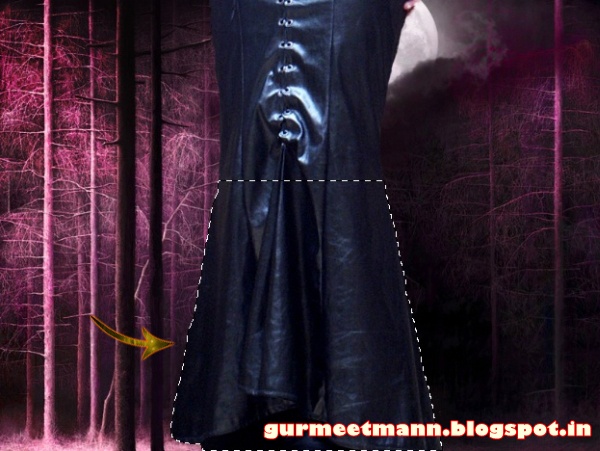
Step 11:- Now copy and paste it, then scale it down with Edit> Free Transform.
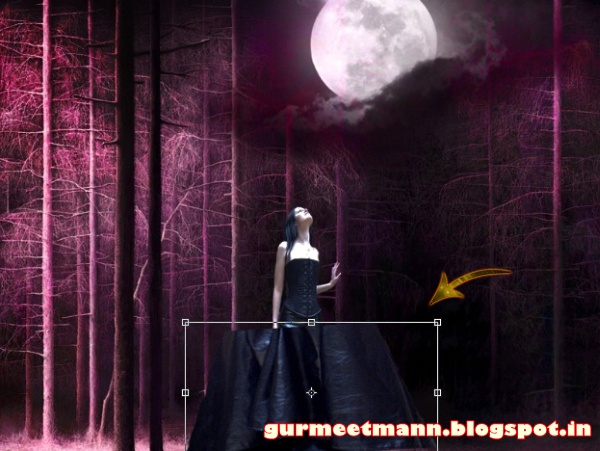
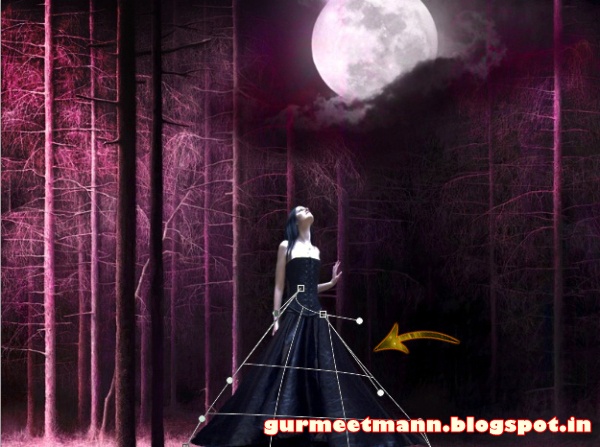
Step 12:- Select Edit> Transform> Wrap and adjust the skirt a bit.
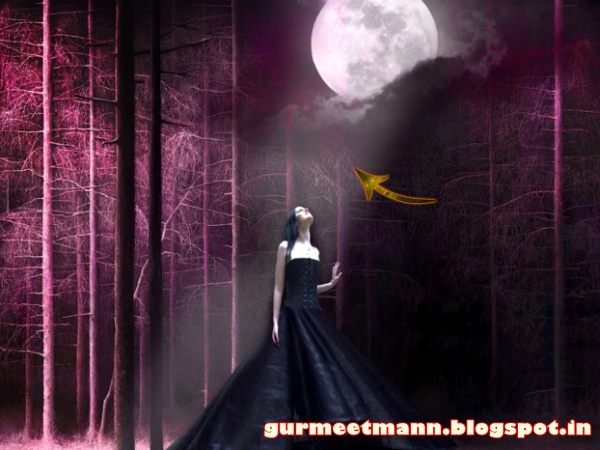
Step 13:- Now let’s create a moonlight ray, for this create a new layer select the soft round brush with # ffffff. And use it to create the ray. Then reduce the opacity to 60%.
Step 14:- Set the foreground color to # ffffff and use different star brushes from the set mentioned above.
Step 15:- Create a new layer and select the round brushes from the above set.
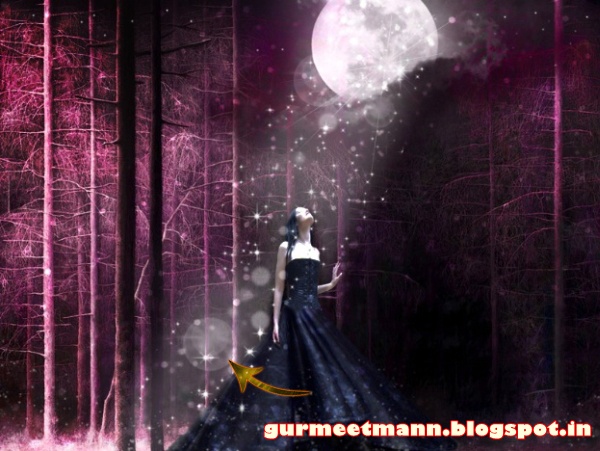
Step 16:- Now create a new layer and place it under the girl layer. And use one of the wing brushes with #ffffff.
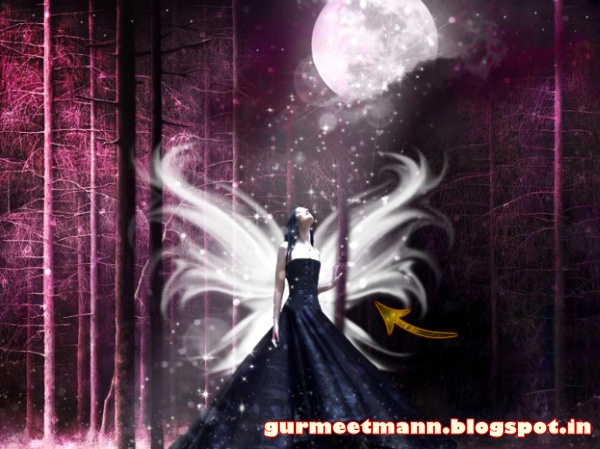
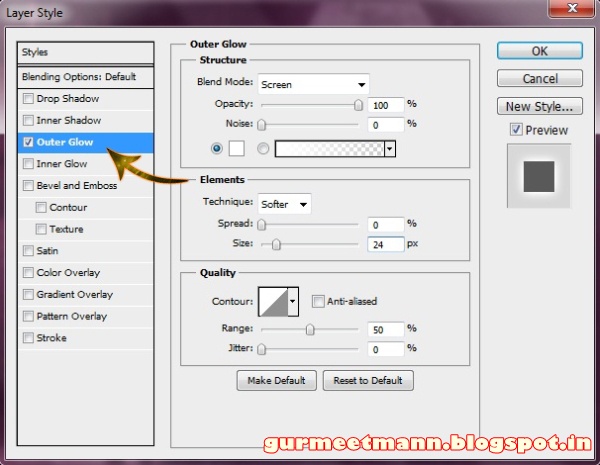
Step 17:- Now select the butterfly and place it on our file. Now click on layer> Layer style> Color overlay and color it #ffffff. Then click on layer> Layer style> Outer Glow and add a little glow to our butterfly.
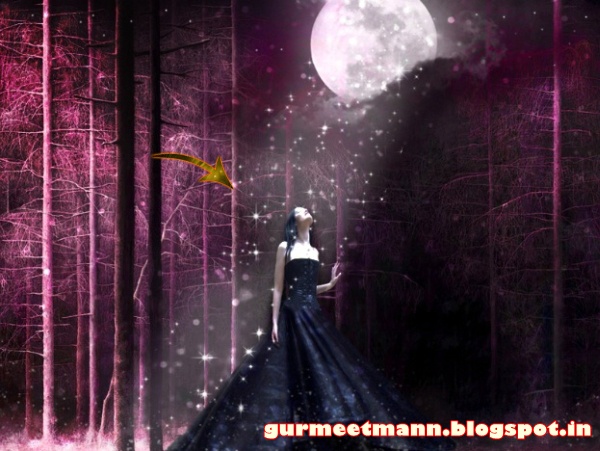
Step 18:- Duplicate the butterfly layer and place these randomly.
Step 19:- Create a new layer and select soft round brush with color # 63011d. And use it over the skirt. Then change the blending mode to “Color”.
Step 20:-
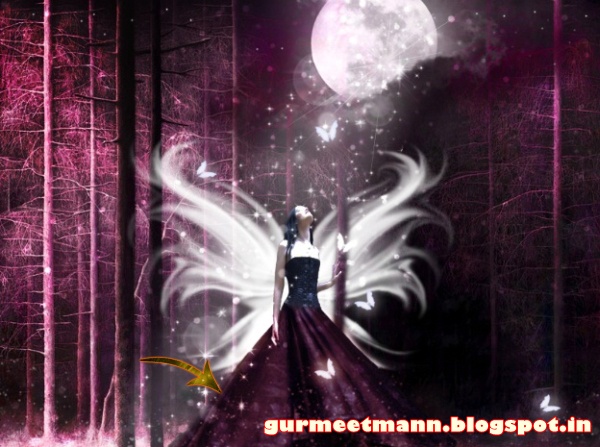
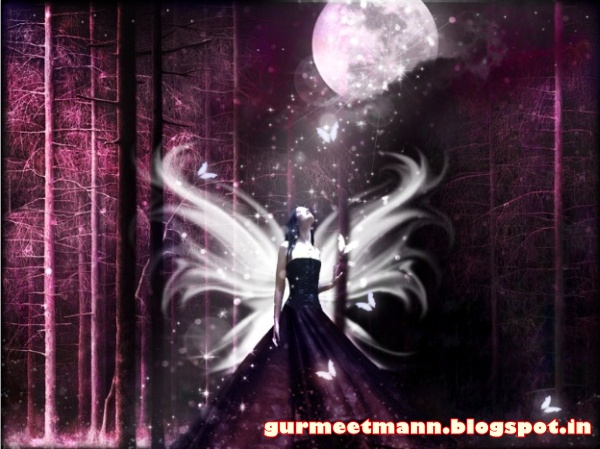
Repeat the same process but this time use the color # 48395f for the upper half of the skirt. And if you want you can add a dark frame.Our magical fantasy is ready. Hope you guys liked the tutorial and learn something interesting. We will be back some more awesome tutorials. Till then have fun!
Click here to learn how to add a beautiful animation effect to this image.
 Tags :- Photoshop 8 , Photoshop 7 trick , trick for Photoshop CS6 , photoshop PNG , Png Images , image png , png , transparent images , transparent png , psd , psd image , png free , download png , png for free , png blogspot , png photoshop , photoshop png images , images for photoshop , cs5 trick , photoshop tricks , photoshop tricks , photoshop background , photoshop psd , photoshop cs5, photoshop cs5 trick,




No comments:
Post a Comment