Saturday, 9 July 2016

Beautiful Animated Effect in PhotoShop

Beautiful Animated Effect in PhotoShop


Beautiful Animated Effect in PhotoShop

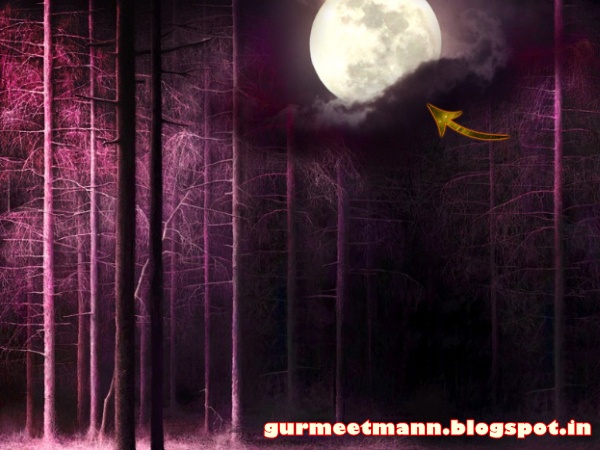
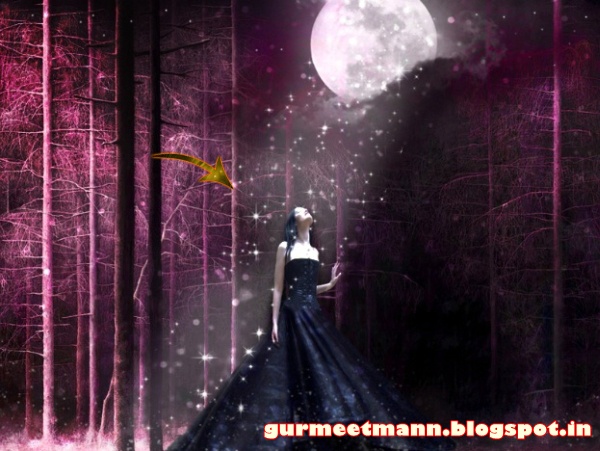
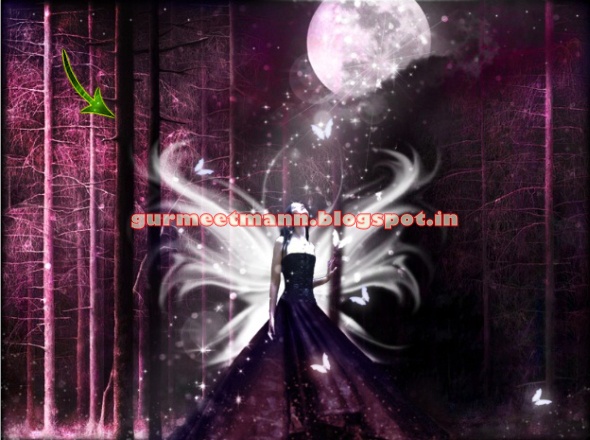
In this tutorial you will learn how to add beautiful animated effects to an image in Photoshop by creating an animated gif. You can view the animated image effect below.

Beautiful Animated Gif

Tutorial Details

Program: Photoshop CS5

Estimated Completion Time: 20 Minutes


Tutorial Assets

The following assets were used during the production of this tutorial :

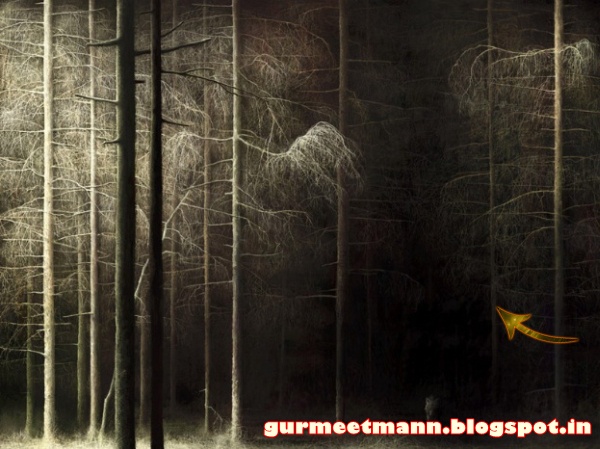
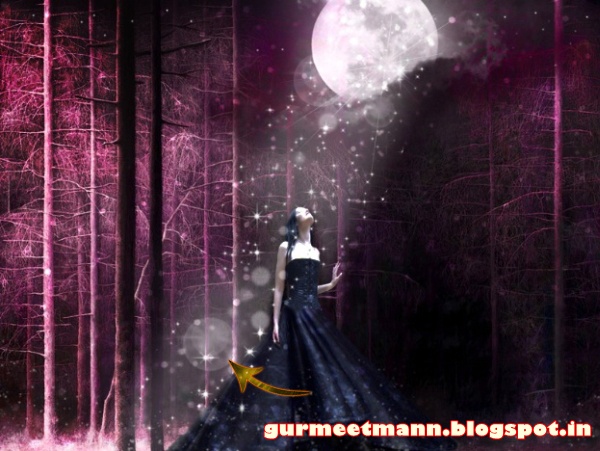
Fantasy Design - We will be using the Magical Fantasy image that we have taught in this tutorial


Now that we have everything we need, so let’s start!

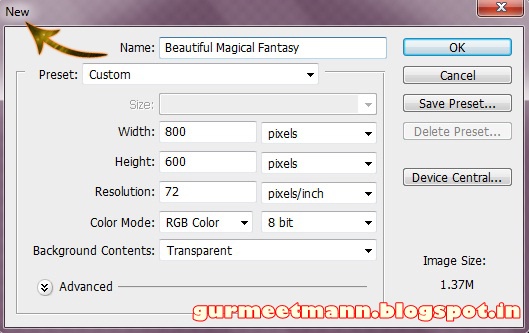
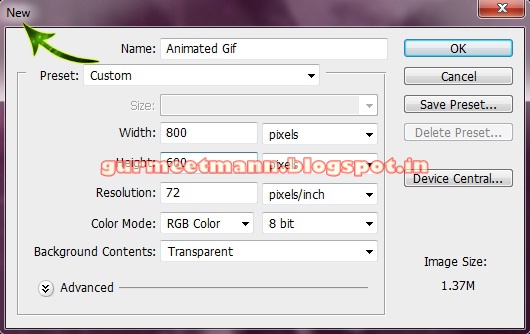
Step 1:- Create a new file with 800px width and 600px height.

step 1

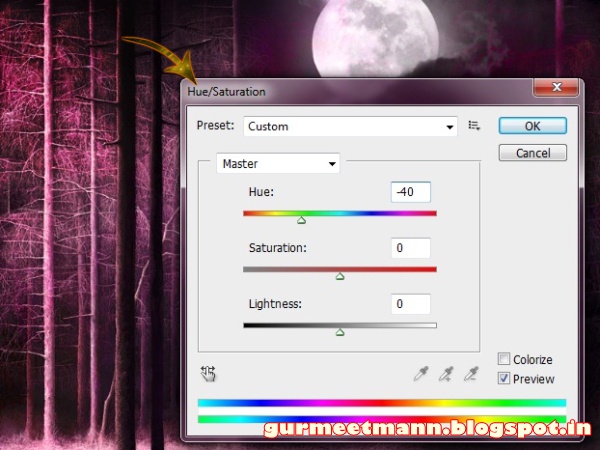
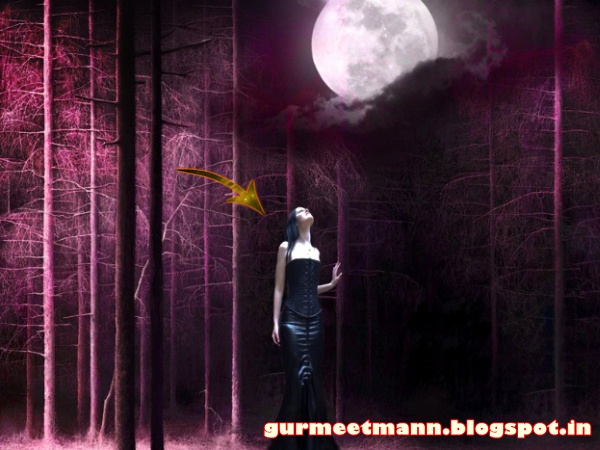
Step 2:- Open the PSD of the Fantasy tutorial mentioned above.

step 2

Step 3:- Now before we start with the animation process lets duplicate some layers first. So the first we are going to find the “Glitter” group in the layer panel.

step 3

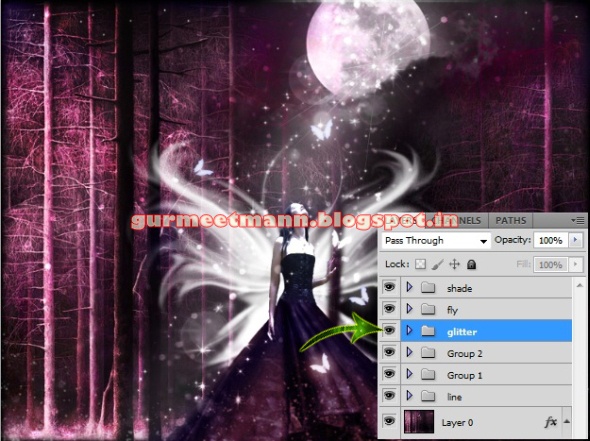
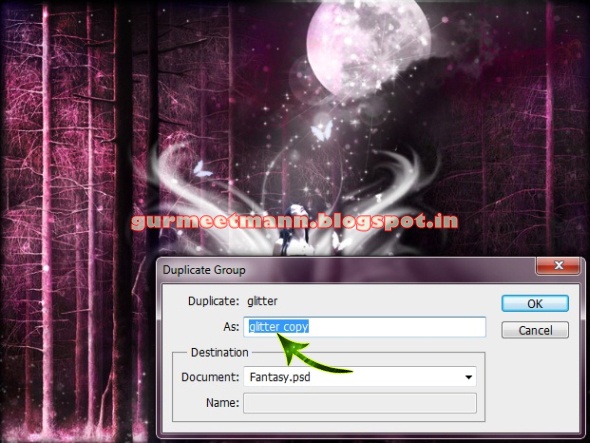
Step 4:- Now right click on the “Glitter” and select duplicate group.

step 4

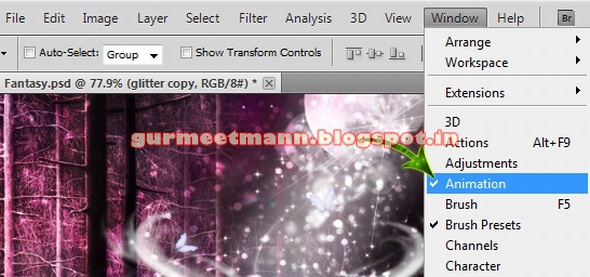
Step 5:- Now we are ready to start our animation, but first we need to open the animation panel. So for this go to Window> Animation.

step 5

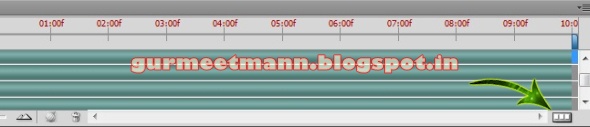
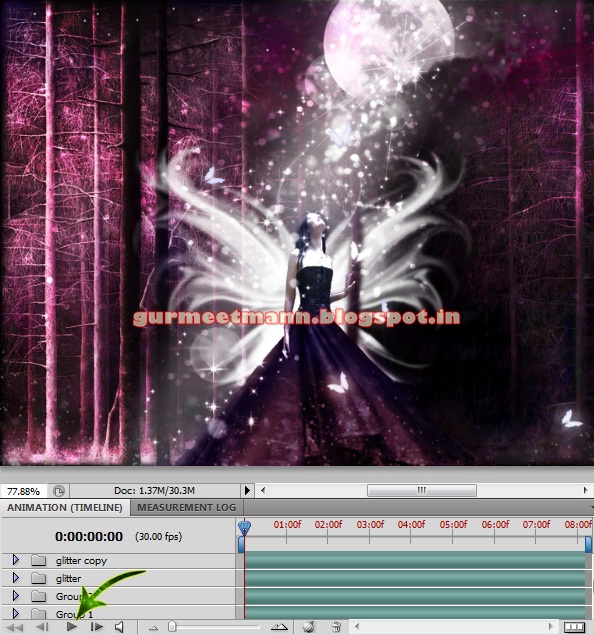
Step 6:- You’ll get something like this it’s the animation timeline.

step 6

Step 7:- Now we need to go to the frames so for this click on the Convert button on the down right corner.

step 7

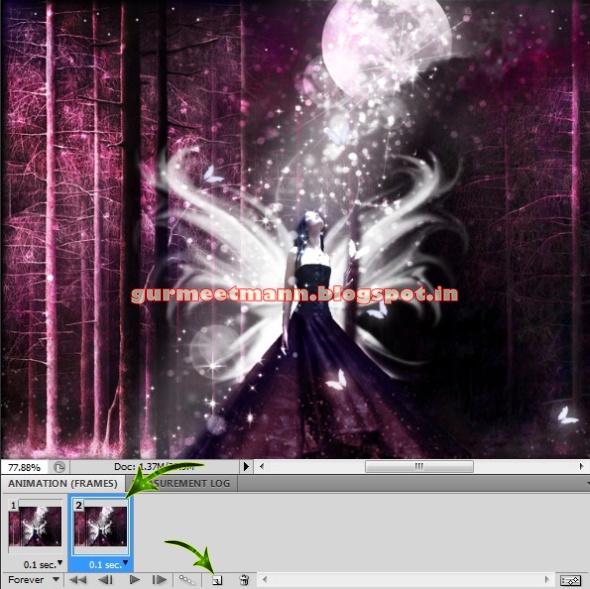
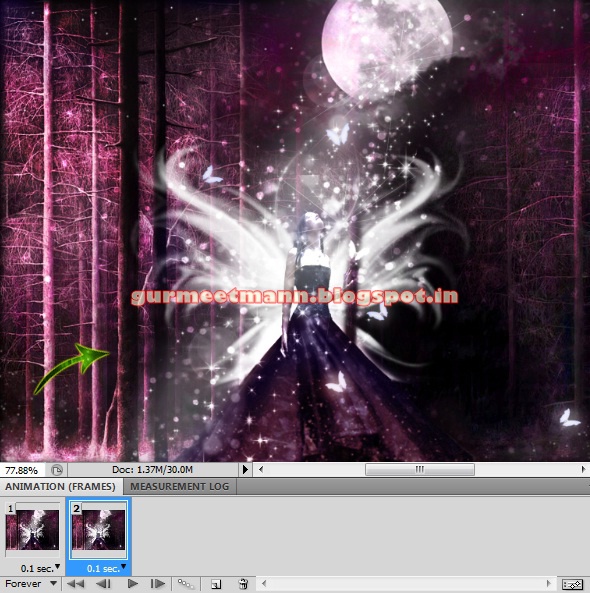
Step 8:- Now we can work with our frames. There are some options which we are going to use to create our animation. So first click on “Duplicate selected frame”.

step 8

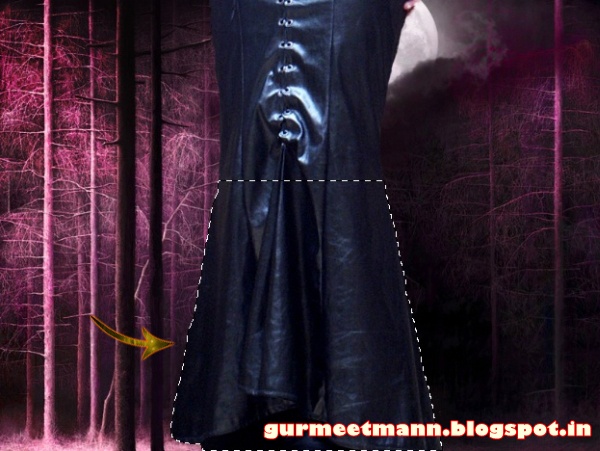
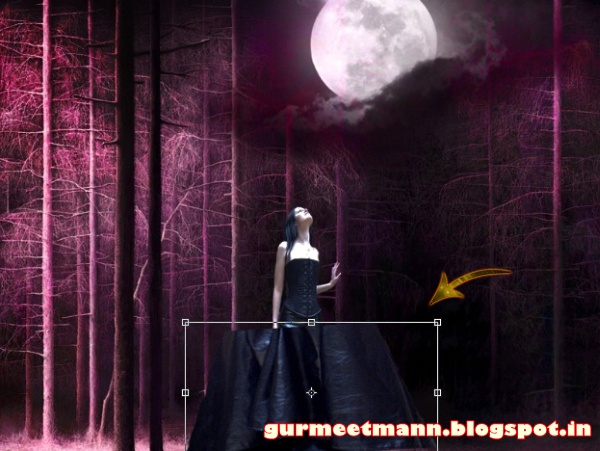
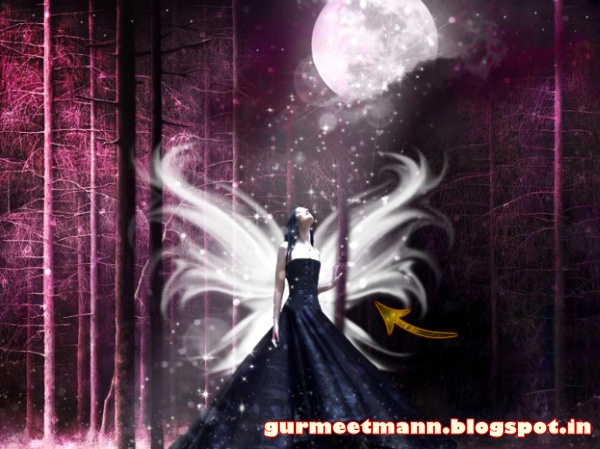
Step 9:- Now the fun part begins, open the glitter group we copied earlier. And select the start layer and move it a bit down.

step 9

Step 10:- Now repeat the same process with all the other layers. But make sure you don’t move them too much.

step 10

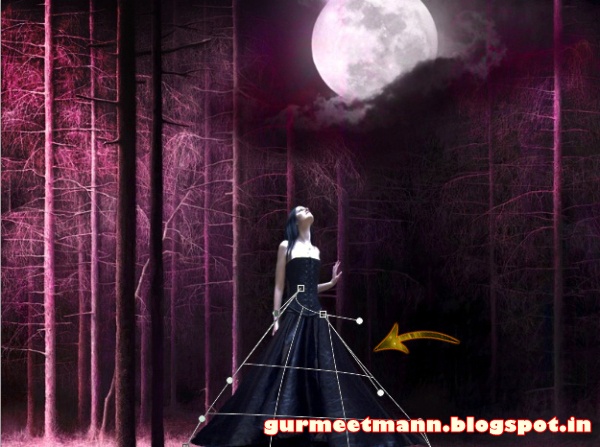
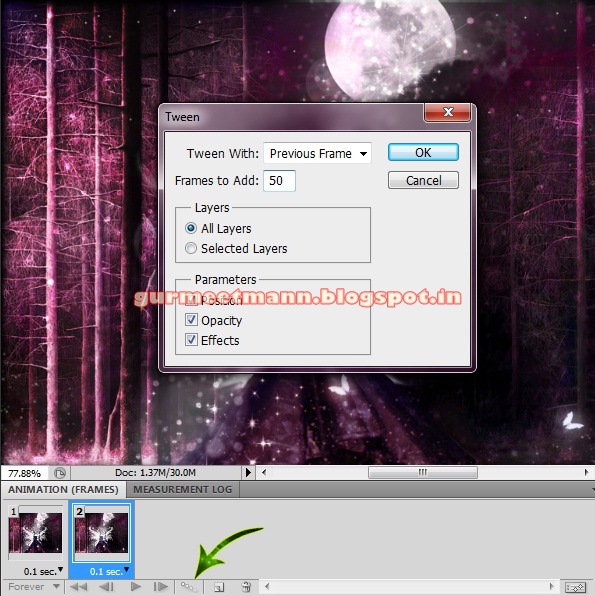
Step 11:- Now click on the “Tweens” button and create 50 frames between our two basic frames. So we can have a nice and smooth animation.

step 11

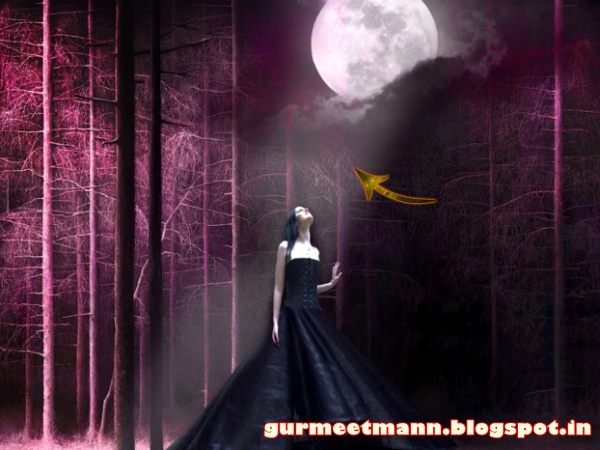
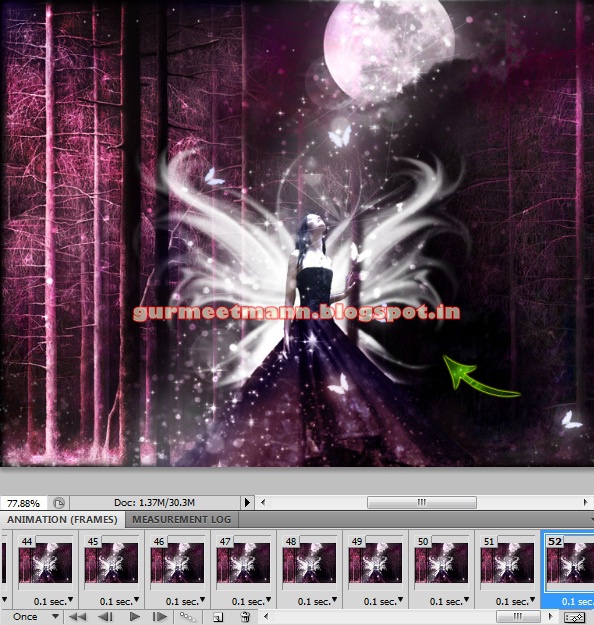
Step 12:- Click on the last frame and then again click on the “Duplicate the selected frame”.

step 12

Step 13:- Now move the layer all the way down.

step 13

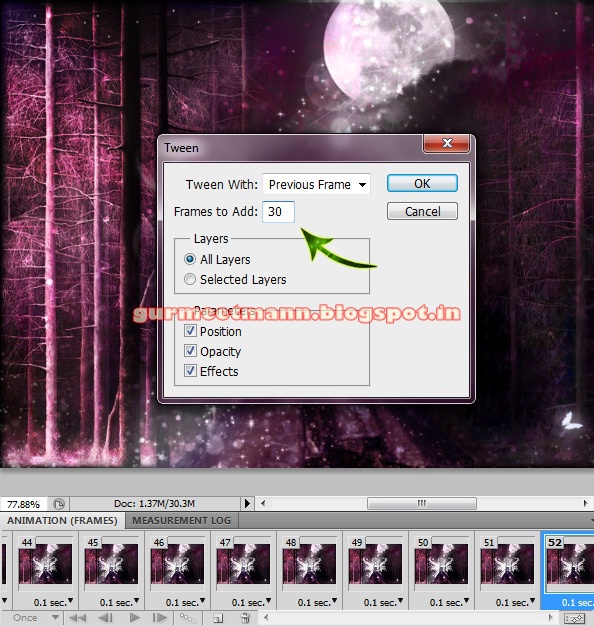
Step 14:- Click on the “Tweens” again and this time create 30 frames.

step 14

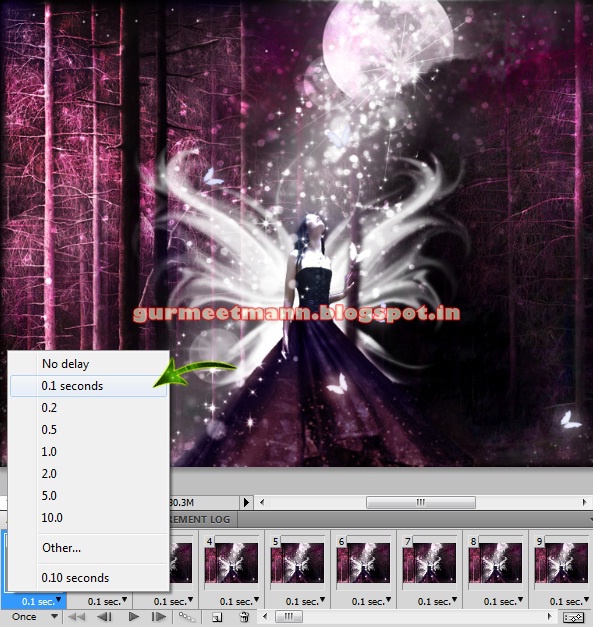
Step 15:- Now let’s look at some of the frame options we have. There are different time options available for frames. So you can select how much time do you want one frame to have. For this animation we are going to choose o.1 second.

step 15

Step 16:- You can also select how many times do you want the animation to play. For this one we’ll select “forever”.

step 16

Step 17:- Now you can play the animation and check if everything is fine. So click on the “Convert” button again go get the timeline and click on “play”.

step 17

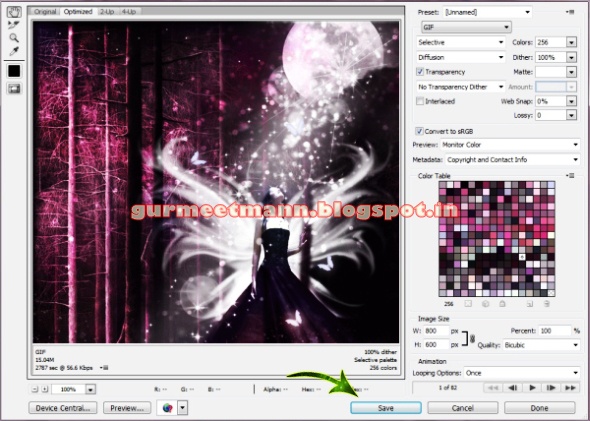
Step 18:- Now so save this click on file> Save for Web & devices and save as a gif file.

step 18

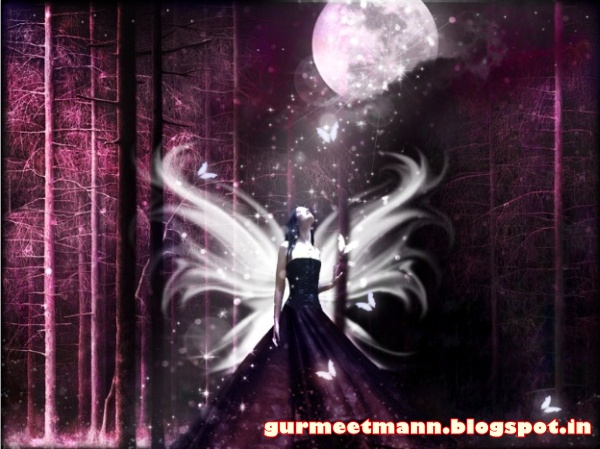
And now our Beautiful animation gif is ready. Hope you guys enjoyed the tutorial and learn something interesting. We’ll be back with some more fun tutorials, till then keep designing!

Beautiful Animated Gif


Tags :-
Photoshop 8 , Photoshop 7 trick , trick for Photoshop CS6 , photoshop PNG , Png Images , image png , png , transparent images , transparent png , psd , psd image , png free , download png , png for free , png blogspot , png photoshop , photoshop png images , images for photoshop , cs5 trick , photoshop tricks , photoshop tricks , photoshop background , photoshop psd , photoshop cs5, photoshop cs5 trick,


Request:-Please give your valuable feedback to comment or 2 Min to share this post if you kind person.

Create a Create a Magical Fantasy Image Effect in Photoshop

Create a Create a Magical Fantasy Image Effect in Photoshop


Create a Create a Magical Fantasy Image Effect in Photoshop
In this tutorial, you will learn how to create create a magical fantasy picture effect in Photoshop. Create a Magical Fantasy Image Effect in Photoshop

Tutorial Details

Program - Photoshop CS5

Assets - The following assets were used during the production of this tutorial:


Now we have everything we need so let’s start!

Step 1:-Open your Photoshop and create a new file with 800px width and 600px height.

step 1

Step 2:- Now open the forest image and paste it on our main file.

step 2

Step 3:- Now click on Image> Adjustment> Hue/saturation.

step 3

Step 4:- Now let’s cover up the little wolf on the right. Create a new layer and select soft round brush. Use it on the wolf with # 0d090c.

step 4

Step 5:- Open the moon image now.

step 5

Step 6:- Select the Eraser tool and erase everything except the moon and few clouds. Then place it on our file.

step 6

Step 7:- Now click on Image> Adjustment> Hue/Saturation. And change the color a bit.

step 7

Step 8:- Now open the girl image and select it with pen tool. After that paste it on out main file. Reduce the size.

step 8

Step 9:- Now paste the girl image one more time and this time don’t reduce the size.

step 9

Step 10:- Select the pen tool and select a bit of the skirt.

step 10

Step 11:- Now copy and paste it, then scale it down with Edit> Free Transform.

step 11

Step 12:- Select Edit> Transform> Wrap and adjust the skirt a bit.

step 12

Step 13:- Now let’s create a moonlight ray, for this create a new layer select the soft round brush with # ffffff. And use it to create the ray. Then reduce the opacity to 60%.

step 13

Step 14:- Set the foreground color to # ffffff and use different star brushes from the set mentioned above.

step 14

Step 15:- Create a new layer and select the round brushes from the above set.

step 15

Step 16:- Now create a new layer and place it under the girl layer. And use one of the wing brushes with #ffffff.

step 16

Step 17:- Now select the butterfly and place it on our file. Now click on layer> Layer style> Color overlay and color it #ffffff. Then click on layer> Layer style> Outer Glow and add a little glow to our butterfly.

step 17

Step 18:- Duplicate the butterfly layer and place these randomly.

step 18

Step 19:- Create a new layer and select soft round brush with color # 63011d. And use it over the skirt. Then change the blending mode to “Color”.

step 19

Step 20:-

Repeat the same process but this time use the color # 48395f for the upper half of the skirt. And if you want you can add a dark frame.

step 20

Our magical fantasy is ready. Hope you guys liked the tutorial and learn something interesting. We will be back some more awesome tutorials. Till then have fun!

Click here to learn how to add a beautiful animation effect to this image.


Tags :-
Photoshop 8 , Photoshop 7 trick , trick for Photoshop CS6 , photoshop PNG , Png Images , image png , png , transparent images , transparent png , psd , psd image , png free , download png , png for free , png blogspot , png photoshop , photoshop png images , images for photoshop , cs5 trick , photoshop tricks , photoshop tricks , photoshop background , photoshop psd , photoshop cs5, photoshop cs5 trick,


Request:-Please give your valuable feedback to comment or 2 Min to share this post if you kind person.

Tuesday, 5 July 2016

The Sims 3 Complete Expansion Pack List - PC Games | Full Version

The Sims 3 Complete Expansion Pack List - PC Games | Full Version - Downloads Free PC Game


The Sims 3 Complete Expansion Pack List - Full Version - Downloads Free PC Game

The Sims 3 is the third major title in the life simulation video game developed by The Sims Studio (Maxis) and published by Electronic Arts. It is the sequel to the best-selling computer game, The Sims 2. It was first released on June 2, 2009 simultaneously for OS X and Microsoft Windows – both versions on the same disc. The Sims 3 was released to game consoles and smartphones on October 26, 2010, for PlayStation 3, Wii, Xbox 360, Android, iOS, and Nintendo DS. The Windows Phone version was made available on the Windows Phone Store on October 15, 2010. A Nintendo 3DS version, released on March 27, 2011, was one of its launch titles. It has also been released for mobile phone platforms, and a simpler version for mobiles with Java.

The Sims 3 was a commercial success, selling 1.4 million copies in its first week. Critics issued mostly positive reviews. The Sims 3 gained an 86/100 score from aggregator Metacritic. The game has sold over ten million copies worldwide since its 2009 release, making it one of the best-selling PC games of all time.


Tags:-   The Sims 3 Complete Expansion Pack List Syndicate Gold Edition Preload, The Sims 3 Complete Expansion Pack List Syndicate Gold Edition Preload torrent, The Sims 3 Complete Expansion Pack List Syndicate Gold Edition Preload download, The Sims 3 Complete Expansion Pack List Syndicate Gold Edition Preload uplay, The Sims 3 Complete Expansion Pack List Syndicate Gold Edition, The Sims 3 Complete Expansion Pack List Syndicate Gold Edition torrent, The Sims 3 Complete Expansion Pack List Syndicate Gold Edition crack, The Sims 3 Complete Expansion Pack List Syndicate Gold Edition preload, The Sims 3 Complete Expansion Pack List Syndicate Gold Edition preload torrent, The Sims 3 Complete Expansion Pack List Syndicate Gold Edition uplay preload, The Sims 3 Complete Expansion Pack List Syndicate Gold Edition unlocker, The Sims 3 Complete Expansion Pack List Syndicate Gold Edition crack only,  


MINIMUM:
    • OS: Windows XP/Vista/7
    • Processor: Intel Pentium 4 @ 2.0 GHz / AMD Athlon XP 2000+
    • Memory: 1 Gb
    • Hard Drive: 7 Gb free
    • Video Memory: 128 Mb
    • Video Card: nVidia GeForce FX 5900 / ATI Radeon 9500
    • Sound Card: DirectX Compatible
    • DirectX: 9.0c
    • Keyboard
    • Mouse
RECOMMENDED:
    • OS: Windows XP/Vista/7
    • Processor: Intel Core 2 DUO @ 2.5 GHz / AMD Athlon 64 X2 5000+
    • Memory: 2 Gb
    • Hard Drive: 8 Gb free
    • Video Memory: 896 Mb
    • Video Card: nVidia GeForce GTX 260 / ATI Radeon HD 4850
    • Sound Card: DirectX Compatible
    • DirectX: 9.0c
    • Keyboard
    • Mouse


Installing The Sims 3 and all expansions the easiest way!

1. Install The Sims 3 BASE GAME first, crack it and make sure it works.
2. Install the most recent expansion (The Sims 3: Into The Future). Crack it and make sure it works. Also make sure you put the crack in the BASE GAME, not the expansion.
3. Now you can install all of the other expansions without problems. NOTE: Do NOT crack the other expansions, just install them and then enter the game through the crack that you have use (ex. The Sims 3: Into The Future crack) in the base game bin folder.

The reason to install and crack the most recent expansion before installing any other expansions is that it is the latest release so you will have the latest crack.

Credit to freepcgamesden.com

The Sims 3 Ultimate Fix you can use if the above did not work:

The Sims 3 Update / Ultimate Fix- Installation Guide:
First: Download This

1. First check which expansions you’ve installed. ONLY follow the instructions for the expansions you have installed, IGNORE THE OTHER STEPS! (NOTE: steps 10 to 14 apply to EVERYONE!)

2. In order for this Fix to work, you need AT LEAST one of the following expansions: Into the Future, Movie Stuff, Island Paradise, University Life, 70s, 80s, & 90s Stuff, Seasons, Supernatural, Diesel Stuff, Katy Perry¡¦s Sweet Treats, Showtime, Master Suite Stuff, Pets, Town Life Stuff, Generations! (Can download from: www.games4theworld.org or www.thepiratebay.se/user/games4theworld ) (IF YOU DON¡¦T INSTALL AT LEAST ONE OF THESE EXPANSIONS, THE GAME STILL WON¡¦T WORK!)

3. For The Sims 3 – base game: open the “Base Game” folder in this .rar file and drag & drop both files in there to: C:\Program Files (x86)\Electronic Arts\The Sims 3\Game\Bin and choose “Replace” on the pop-up that appears, telling you the files already exist.

4. For The Sims 3 – World Adventures: open the “World Adventures” folder in this .rar file and drag & drop both files in there to: C:\Program Files (x86)\Electronic Arts\The Sims 3 World Adventures\Game\Bin and choose “Replace” on the pop-up that appears, telling you the files already exist.

5. For The Sims 3 – High End Loft Stuff: open the “High End Loft Stuff” folder in this .rar file and drag & drop both files in there to: C:\Program Files (x86)\Electronic Arts\The Sims 3 High End Loft Stuff\Game\Bin and choose “Replace” on the pop-up that appears, telling you the files already exist.

6. For The Sims 3 – Ambitions: open the “Ambitions” folder in this .rar file and drag & drop both files in there to: C:\Program Files (x86)\Electronic Arts\The Sims 3 Ambitions\Game\Bin and choose “Replace” on the pop-up that appears, telling you the files already exist.

7. For The Sims 3 – Fast Lane Stuff: open the “Fast Lane Stuff” folder in this .rar file and drag & drop both files in there to: C:\Program Files (x86)\Electronic Arts\The Sims 3 Fast Lane Stuff\Game\Bin and choose “Replace” on the pop-up that appears, telling you the files already exist.

8. For The Sims 3 – Late Night: open the “Late Night” folder in this .rar file and drag & drop both files in there to: C:\Program Files (x86)\Electronic Arts\The Sims 3 Late Night\Game\Bin and choose “Replace” on the pop-up that appears, telling you the files already exist.

9. For The Sims 3 – Outdoor Living Stuff: open the “Outdoor Living Stuff” folder in this .rar file and drag & drop both files in there to: C:\Program Files (x86)\Electronic Arts\The Sims 3 Outdoor Living Stuff\Game\Bin and choose “Replace” on the pop-up that appears, telling you the files already exist.

10. For The Sims 3 – Into the Future &Movie Stuff &Island Paradise & University Life & 70s, 80s and 90s Stuff & Seasons & Supernatural & Diesel Stuff & Katy Perry’s Sweet Treats & Showtime & Master Suite Stuff & Pets & Town Life Stuff & Generations: open the “All expansion packs released after and including Generations” folder in this .rar file and drag & drop both files in there to: C:\Program Files (x86)\Electronic Arts\The Sims 3\Game\Bin (SO NOT TO THE EXPANSION’S GAME DIRECTORY!) and choose “Replace” on the pop-up that appears, telling you the files already exist.

11. Now, open the The Sims 3 Launcher and navigate to the “Update” tab. Choose “Refresh”. If a new update is shown, install it. Now you should have got the latest version of the game. (RECOMMENDED ) If you get an “Invalid File” error during the update process or if you have ANY other problems during the update process, use THIS manual patch instead!)

12. When done updating, completely close the game and the Launcher. (Also from the system tray!) 13. Open the “# Crack” folder in this .rar file. Drag & drop the .dll and .exe file you’ll see in there to exactly: C:\Program Files (x86)\Electronic Arts\The Sims 3\Game\Bin (SO NOT TO THE EXPANSION’S GAME DIRECTORY!) and choose “Replace” on the pop-up that appears, telling you the files already exist.

14. After you’ve applied the crack, start the game and… ENJOY playing!
NOTE: Even if you have a retail version of one or more of the expansions / base game, you still have to apply the crack.

Credit to games4theworld


Password= gurmeetmann.blogspot.com
Click On any link n Wait 5 seconds then Skip Ads
Download Torrent ClientU torrent   
Download Server 1 Download Torrent
Download Server 2 Download Torrent